The Long Project
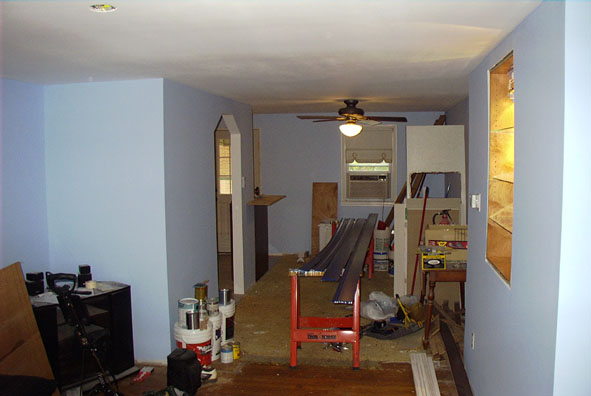
 Before |
 After |
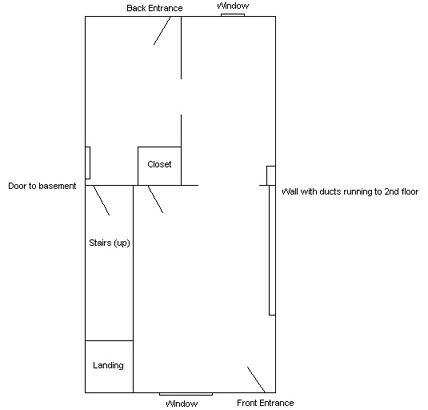
Before and after Layout
Looking at the before and after pictures, you can see that I made a lot of changes.
The first thing I did was blow out the wall between the kitchen and the dining room.
I also blew out the closet that was in the living room. I removed the door leading from the kitchen to the basement, and now it is an open stairway down to the basement.
This was not only to give myself more physical space in the kitchen, but with the kitchen open to the dining room, it feels even bigger.
I also blew out the entranceway from the lving room to the dining room. Again, this was to make things feel roomier.
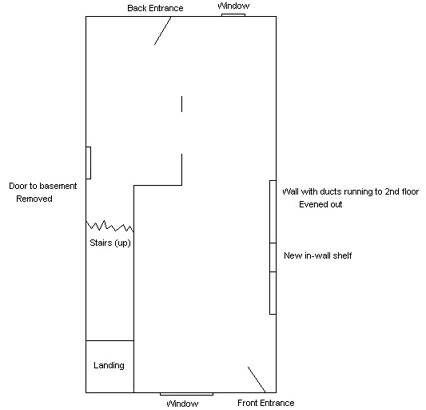
You will also notice that the wall with ducts in it is now evened out. It was really that uneven.
That is not just bad drawing in the before picture.
When I rebuilt that wall, I also took advantage of some wasted room by building a shelf into it.
The mirrored backing helps to add a roomier feel to the living room. (I think you can see a trend in my design - ROOM.)
In the process of redesigning my first floor I also had to close off and move some ducts around. I did not bother showing this anywhere, and it really is un-noticeable.
I also replaced the front and rear doors, as they were old and they had horrible gaps in them which let all the heat out in the winter. You could probably have kicked the original doors in without much effort.
The Previous State (Pictures taken 6/15/2004)
The Current State (Pictures taken 12/9/2004 - 12/17/2004 & 2/12/2005)
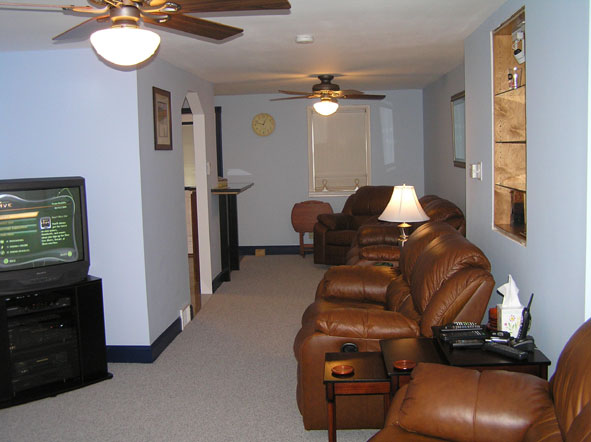
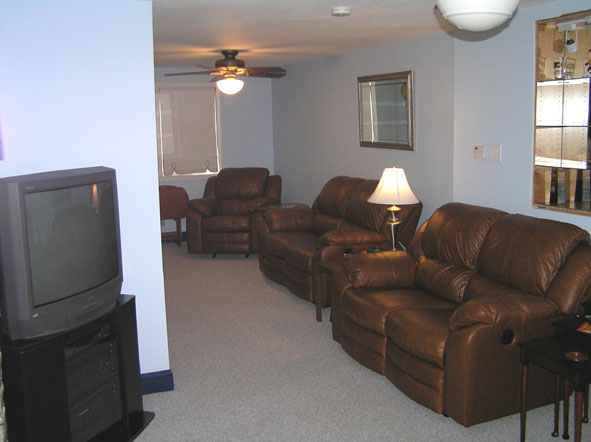
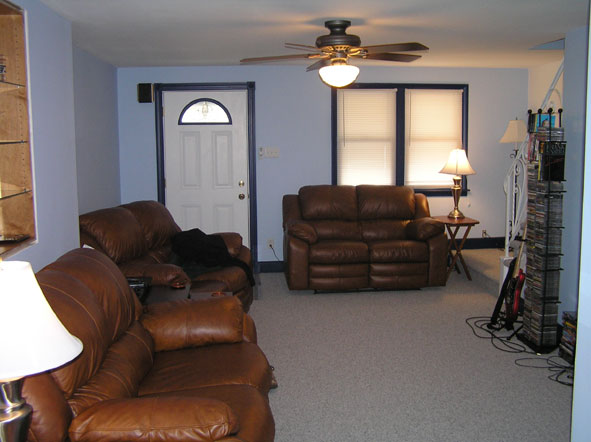
As You Enter
This picture was taken standing by the front door. All the dividing walls have been rebuilt and rewired. The ceiling fan in the dining room is new, and there will be a matching one in the living room. (You can see the box for it in the upper left hand corner of the picture.) When I tore down the original dividing walls, I found that there was some severe water damage in the ceiling right where the living room meets the dining room, so that area of ceiling is completely new, as well as the ceiling area between the kitchen and the dining room. Also shown in this picture are the new baseboards and door trim in the process of being painted. They are a royal blue, and are standard OG (roughly 6" high).
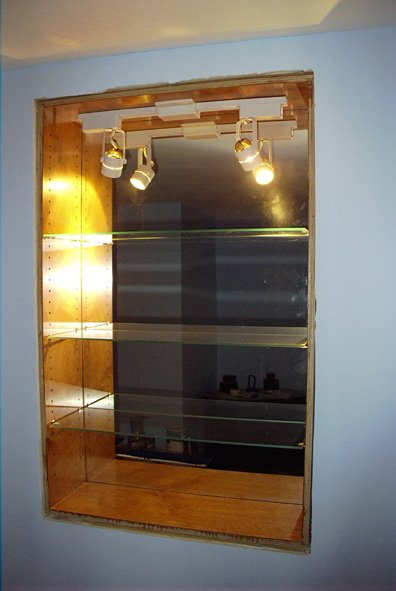
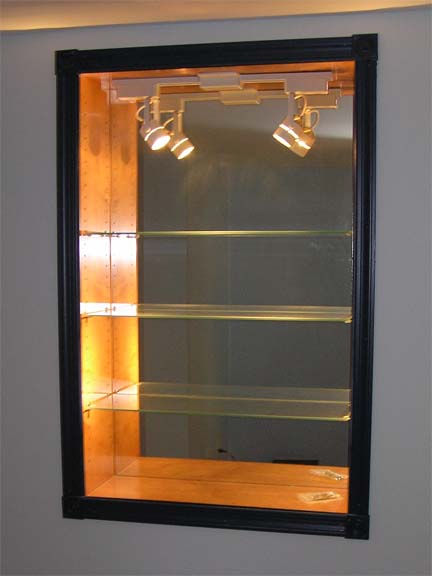
The Built-In Shelf
Here is a better look at the new in-wall shelf. A friend of mine made the frame for me for the price of the jig he needed to get all those peg holes lined up for the glass shelves. I stained it with five coats of cherry stain, and then put four coats of clear satin polyurethane. Getting that mirrored back took forever because when I ordered it, all I had was the Mustang. So I had to depend on someone else. When I finally got it, it was the wrong size, but luckily I had my truck, so I took it back to the glass place myself and got it trimmed down to the right size. (Luckily it was cut too large too.) I installed the mirror using glazier points and clear silicon. The track lighting is wired to the switch to the left of the shelf. I plan to put some nice trim around the outside, and maybe have something ornamental at the top to partially hide the track lighting fixtures.
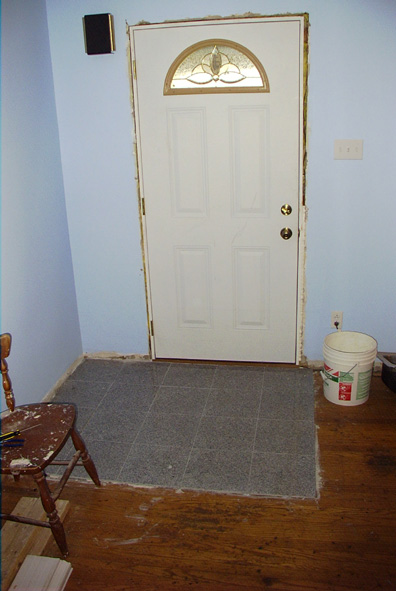
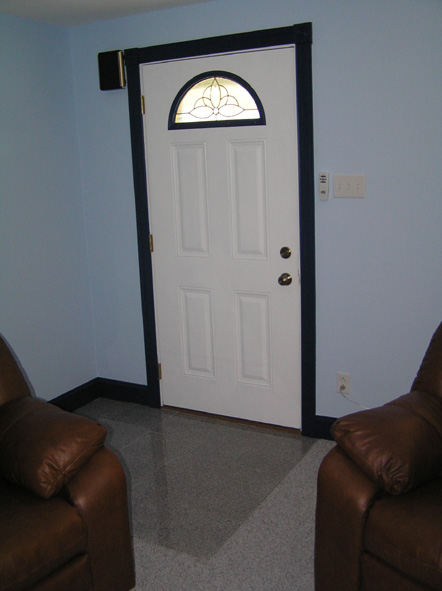
The Entrance
Here you see the new front door which is still unpainted. Also notice the new granite as you enter. When I ripped up the original floor (linoleum) I found that the subfloor was complete crap and had to replace it as well (3/4" plywood.) I topped that with cement board, and then the 1x1 granite tiles and Delorean Grey grout (the same as you will see in the kitchen.) I paid someone to install the door, but I did all the tile work (here) myself. Oh, and I installed the new doorbell, as well as ran the wiring. Unfortunately, I ran the wiring a long time ago, replaced the transformer, installed a bell in my basement, and then when I was installing this bell, I shorted out the transformer by accident. I'll be replacing the transformer again soon, and all will be well there again.
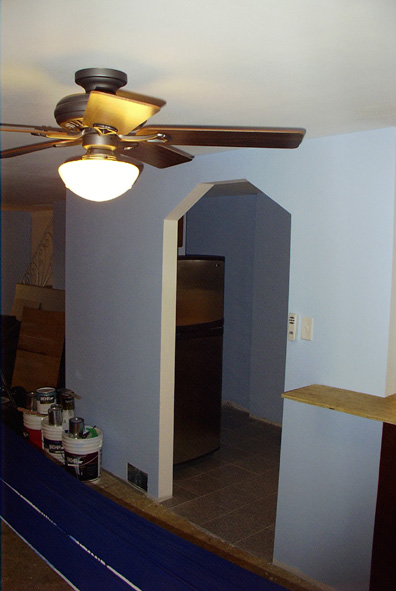
The New Kitchen Entrance
The new kitchen entrance is taller and wider than standard entrances. I was tired of trying to squeeze through with my laundry, groceries, what-have-you, so this takes care of that. The hardest part was getting those angles the same on both sides. I didn't have a miter box, but a buddy of mine knew how to hook it up. We cut the pieces at his house, and then I installed it. It came out pretty well I think. You can also get a closer look at the ceiling fan I mentioned earlier.
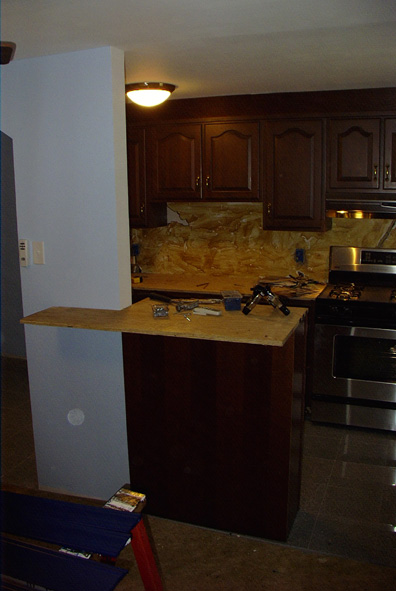

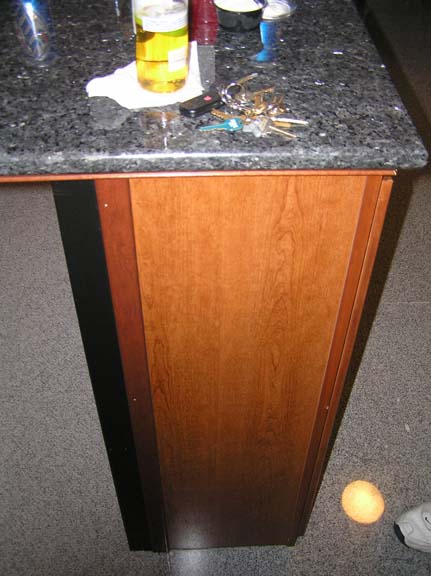
The Island
This was a long time in the planning, and it finally is coming together. It will be topped with Blue Opal Granite in the shape of the plywood you see here. The plywood will get some trim to cover the edges, and I have a skin to match the cabinet for the underside. I will also have some 4x4 supports installed with a footrail (once I find a footrail; I may have to have it fabricated.)
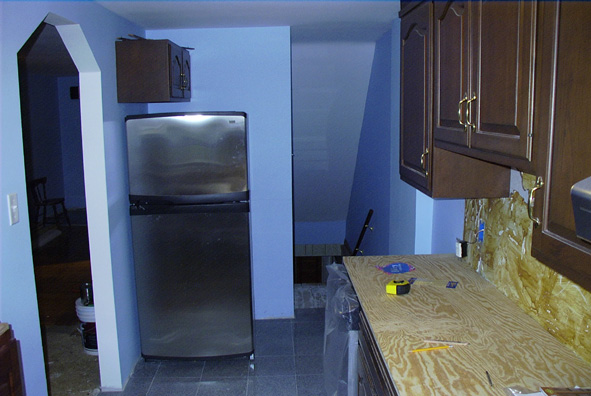
The Basement Entrance
Here we are in the kitchen looking at the basement stairwell. There used to be a doorway here, but I didn't like it... so it's gone. Where my (new)'fridge is, is where that living room closet used to be. It really allowed me to open things up by removing it. To the right you see my soon to be kitchen counters, also Blue Opal granite. At the time, I hadn't cut the hole for the undermounted sink, but if you can imagine it right next to the dishwasher there. I also installed new GFC outlets. There were next to no outlets for the countertop before all this.
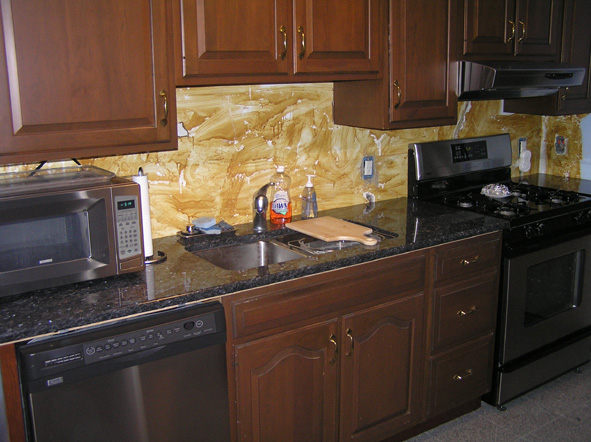
The Kitchen Sink
And even the kitchen Sink. As you can tell, I still need that backsplash. I am still looking at my options, but I want something which will match the stainless steel motif I have going.
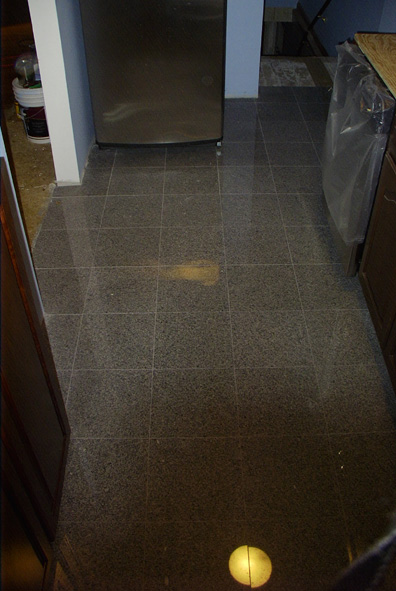
The New Kitchen Floor
Here is a shot of the new granite floor I installed in the kitchen. Actually a buddy of mine started it, and I learned how to tile when I had to finish it (otherwise it still wouldn't be done.) Did you know that wet saws only cut tiles, not skin? It's true.
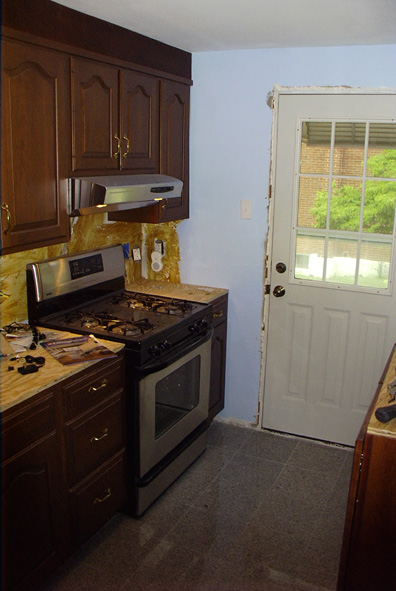
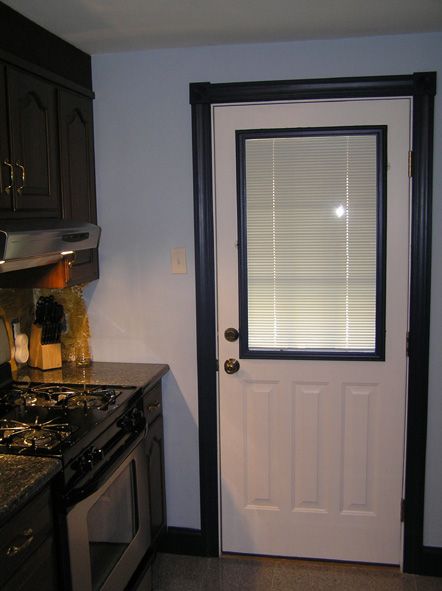
The Back Door
And now the last (but not least) of my home improvements, the new stove, hood and kitchen door. Not much left to say. It's almost done now, and as of now (6/29/2004) I should have my kitchen functioning within the next couple of weeks.
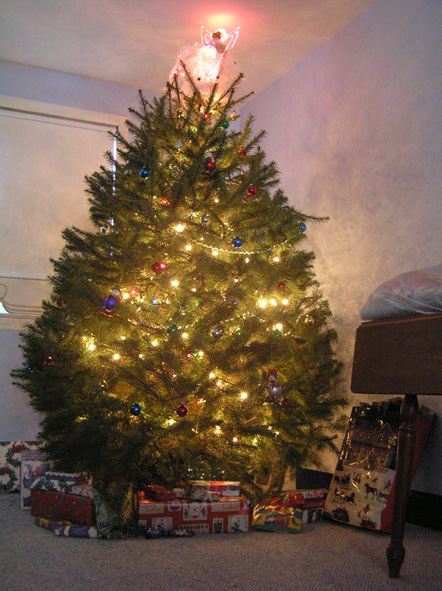
Merry Christmas 2004
Seeing as how I am updating this right before Christmas, I figured I would throw in a shot of my Christmas Tree. Have a Merry One everybody!
Well, I hope you've enjoyed your little visit to my 2 year long project. Maybe you were a little impressed, maybe you were disappointed, but I'll tell you what. Next time I'll hire somebody to do all this stuff. What the hell was I thinking?! LOL.